You are graphic designer and you want to show your best works with the best qualities of photos. In the article at Justcreative.com you can find tips for that!
This is a guest article contributed by Rahat Bashar.
For your design portfolio to stand out amongst the crowd, it needs professional photography to give it the edge. Professional photography boosts the perceived quality of your work, thus allowing you to increase your prices and ultimately get a better end product for your client.
But hiring a professional photographer could cost you hundreds just to take a couple of shots. However, if you invest in buying your own equipment, you could literally save thousands while taking as many professional shots as you want.
Here is a run down of how you can photograph your portfolio in 6 simple steps.
The main reason we use a daylight bulb is because it matches the colour temperature of ‘daylight’. This keeps the photo looking natural and balanced, which makes it pleasing to the eye.
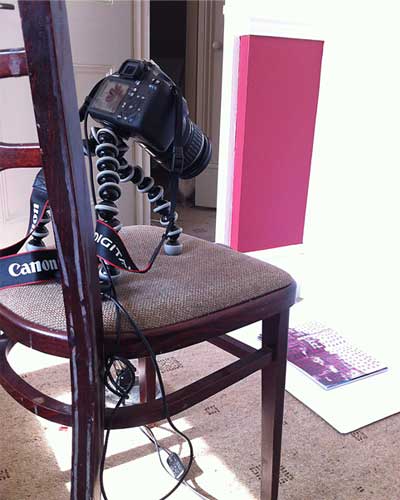
A flexible lamp is needed to control where the light is facing. This allows us to control the types of shadows that we create in our photos.
The color of the backdrop paper will dictate the mood and atmosphere of your portfolio piece. Be sure to use a smooth paper instead of textured.
Both types of cameras are great, however a DSLR camera offers more flexibility and functions that will be discussed later. In this post, the camera that I’ll be using is the Canon 1100D. I highly recommend this camera for anyone who doesn’t have much experience in using DSLR cameras. It’s low cost, has tons of functions and as you’ll see later it takes great photos. You can see some some photos that I’ve taken with this camera here.
A tripod is needed to ensure sharpness in the photo. In this case, I used a Gorillapod, which is highly flexible and easily allows you to take sharp photos while keeping your camera at a low distance.
Having a shutter release cable is useful for taking sharp images without the need of touching the camera.

Not as pretty as you may have thought, but it works. As you can see, there’s really not much to it besides having all of your equipment and materials in one place.
However, if possible, try to photograph your work outside on a cloudy day. If you don’t have the means to do that then photograph your work in a room where there is lots of natural light.
By shooting your work where there’s plenty of light, it allows your photographs to have maximum sharpness.
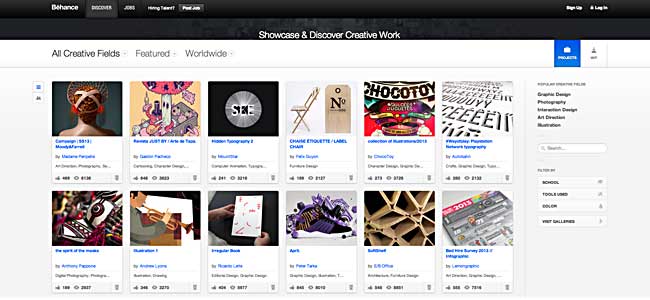
Before photographing your portfolio, it’s important to first have a look at other designers work for inspiration. Some good sites you could have a look at are Behance, It’s Nice That & Dribbble.
The next step is to setup your lighting. Depending on where you place your lighting, the shadows will come out different. If you use two or three different lamps then this will either eliminate any shadow in your photo or make the shadow softer.
If you want to add some depth to your shadow, I recommend that you place a small item underneath your portfolio piece in order to give it a slight lift.
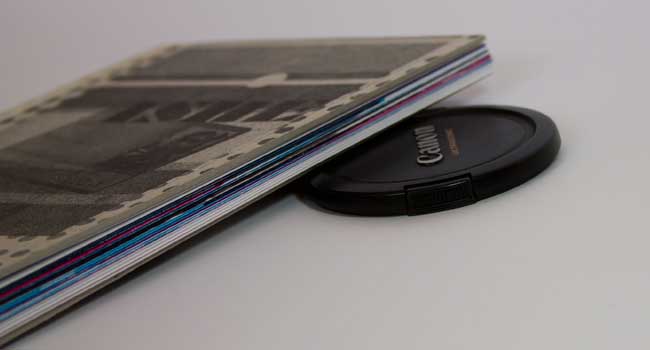
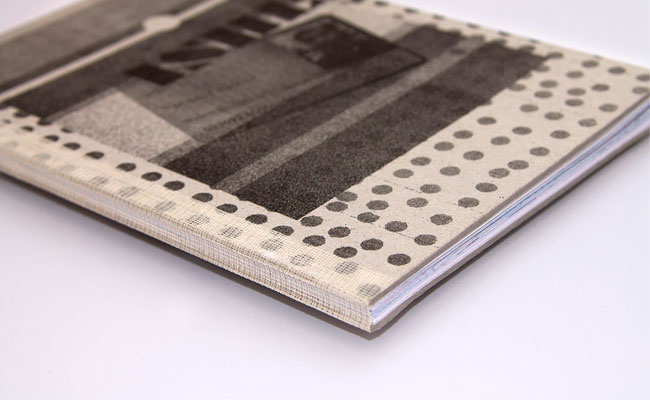
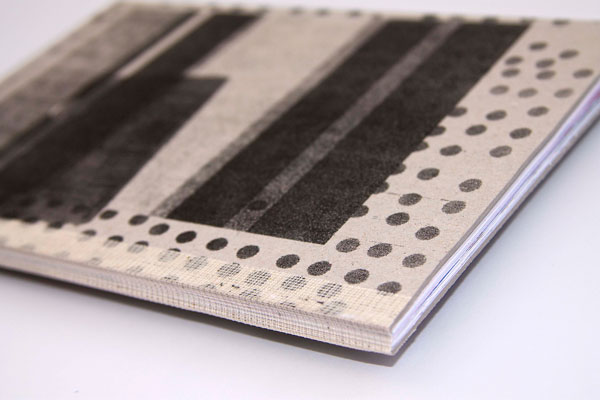
It’s important to create a focus point when photographing your work. In the photo below, I wanted to show emphasis that the book was made using the French folding technique.


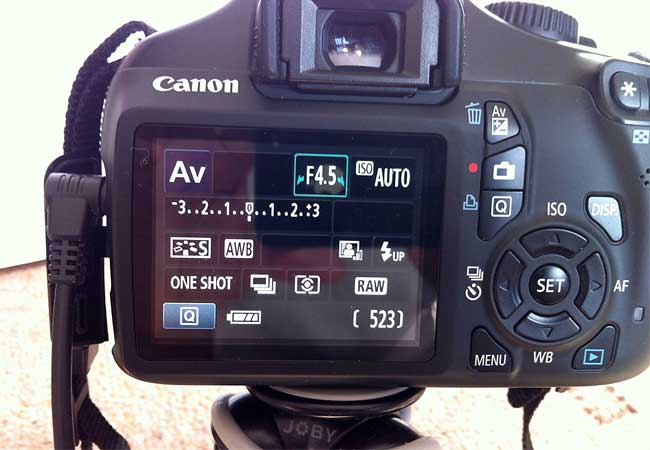
The ISO should be around 100-200. This will remove any noise and keep the photo sharp. Also if you want to focus on an item and blur out the rest, switch to the mode AV (Aperture Variation) use a low aperture. In this case, I’m using an aperture of 4.5.
In order to test different compositions, be sure to take photographs of the same portfolio piece in multiple angles. By arranging your pieces in different ways, even the same piece will look different and unique.
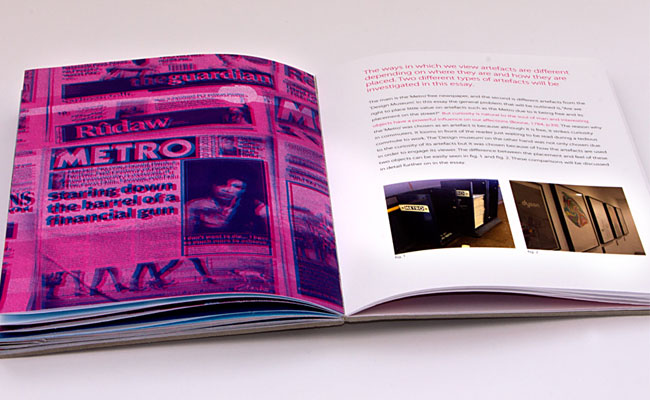
If you were photographing a book, it would be a good idea to keep the camera on a high place. This allows you to take a full photo of the pages while keeping the same layout.
Having a shutter release cable is also useful for taking sharp images without the need of touching the camera.

If possible, try and photograph your pieces in a quite place… some place where there is no distractions.
All you have to do now is edit your photographs. You should take all of your photos in RAW as this ensures that the quality is at its highest and it also allows you to edit multiple elements on it.
The white balance, exposure and etc, should all be similar to ensure that the images remains consistent.

I’m sure that there are many designers here who have some great tips. Are there any photography tips that you could share? Be sure to let us know in the comments below.
–
Rahat Bashar is the founder of the design blog WeeklyDesignGrind.com, where he helps creatives develop their online portfolio.
This post truly peaked our interest.
Categories


Comments